Open grass stock. Extract grass only and move it into white canvas, resize it ( use combine key Cmd/Ctrl+T) as shown below:
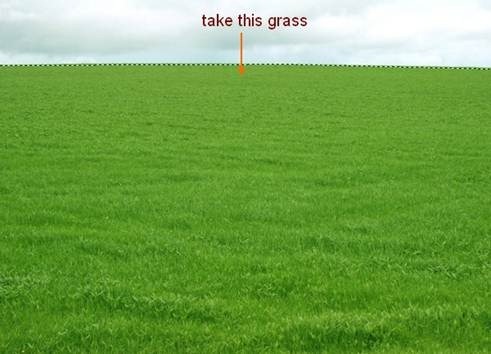
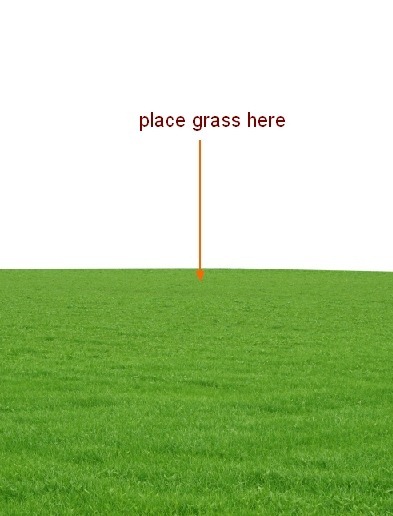
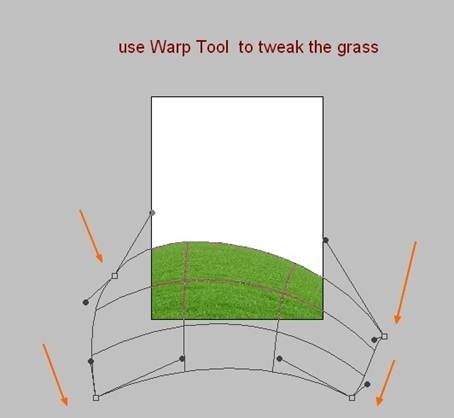
Go to Edit-Transform-Warp and tweak the grass to make a shape of a hill:
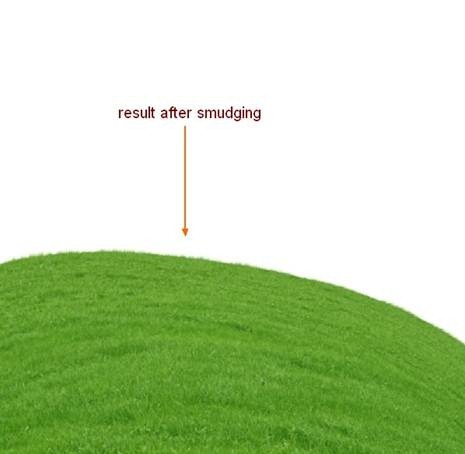
To make this hill look more natural, I make a new layer above grass one. Press R to active Smudge Tool with Strength about 50% and remember to check “Sample All Layers” on property bar. Turn off background layer ( white one) so it won’t be affected by smudging process. Use very small brush size ( about 6-8 px but it depends on the size of your picture) to stretch out small and tiny blades of grass and follow the position of the hill. You can see how I use this tool in screenshot below ( I turn on background layer to make you see obviously):
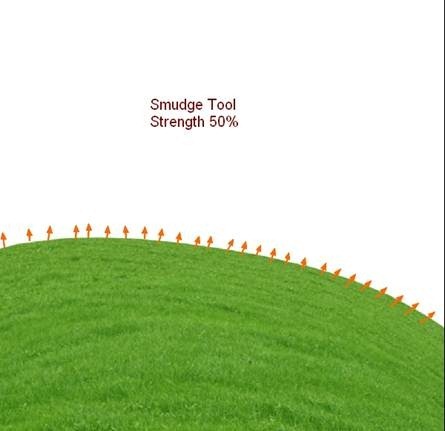
Result:
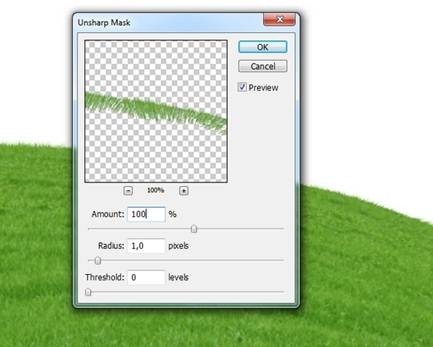
I want to sharpen it a bit so choose Filter-Sharpen-Unsharp Mask:
Step 2
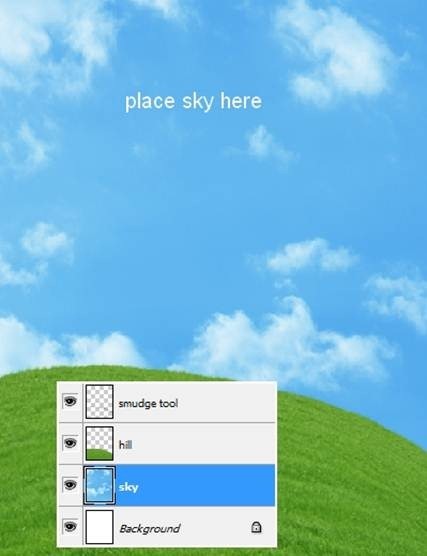
Open sky stock. Drag it by Move Tool ( press M to active it) into our picture, place it under hill layer. You can see I only take one part of this sky but you can choose any part for your taste.
Step 3
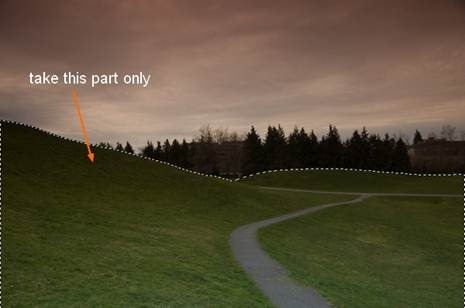
Open stock with road and hill. Extract only this part and move it into our main picture, resize it and position it under hill and above sky one. Call this layer “road”.
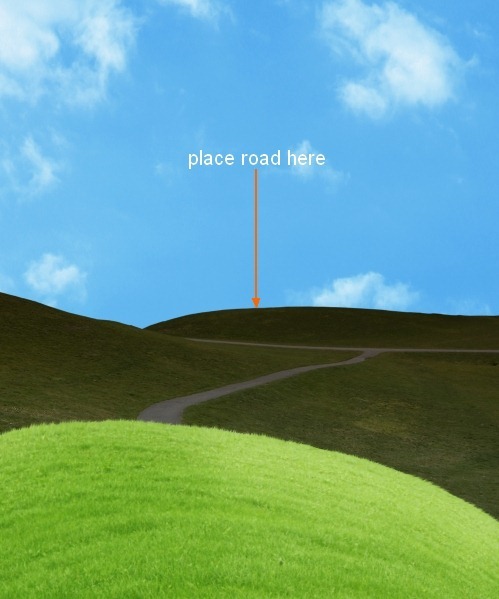
Flip it by choose Edit-Transform-Flip Horizontal and we have result:
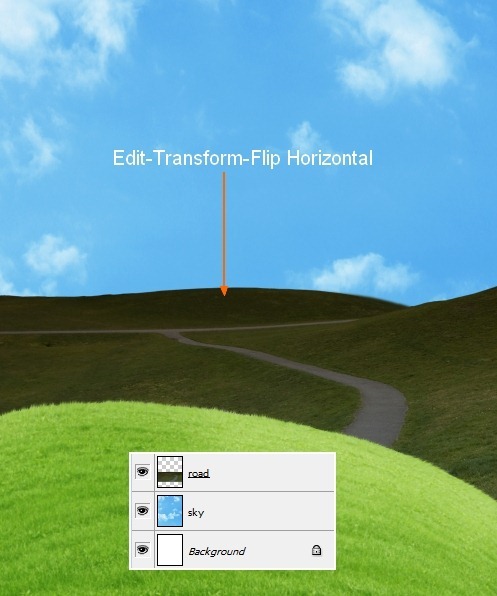
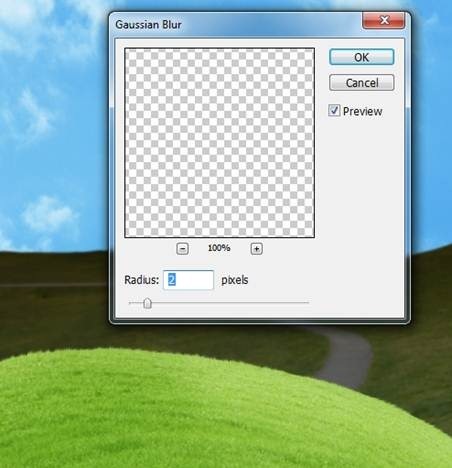
I want to blur it to create some depth for background. So choose Filter-Blur-Gassian Blur and set radius as 2:
Step 4
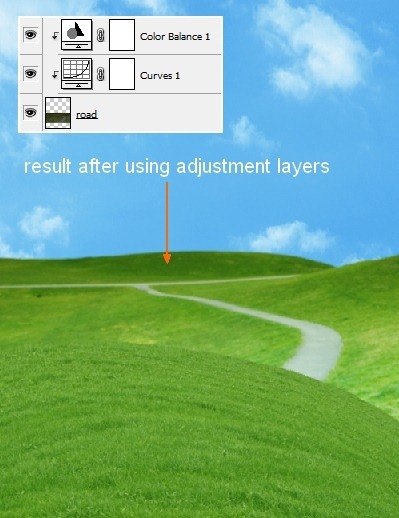
You can see that the road look too dark against the rest. To correct it, I use some adjustment layers with Clipping Mask. On road layer, go to Layer-New Adjustment Layer-Curves:
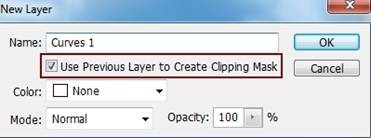
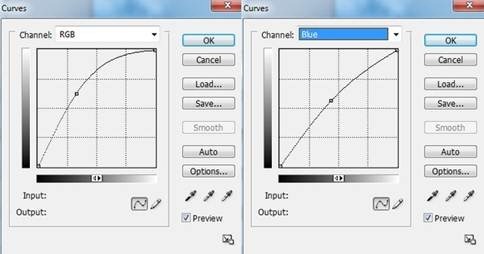
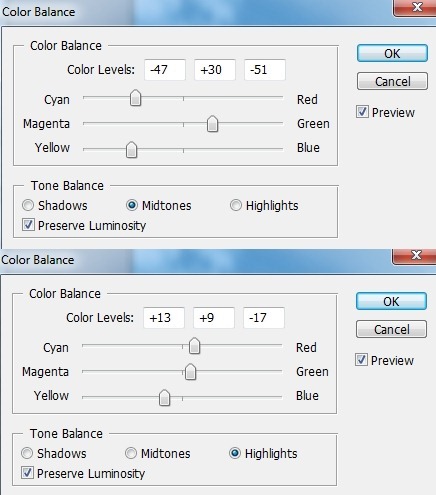
Layer-New Adjustment Layer-Color Balance:
No comments:
Post a Comment